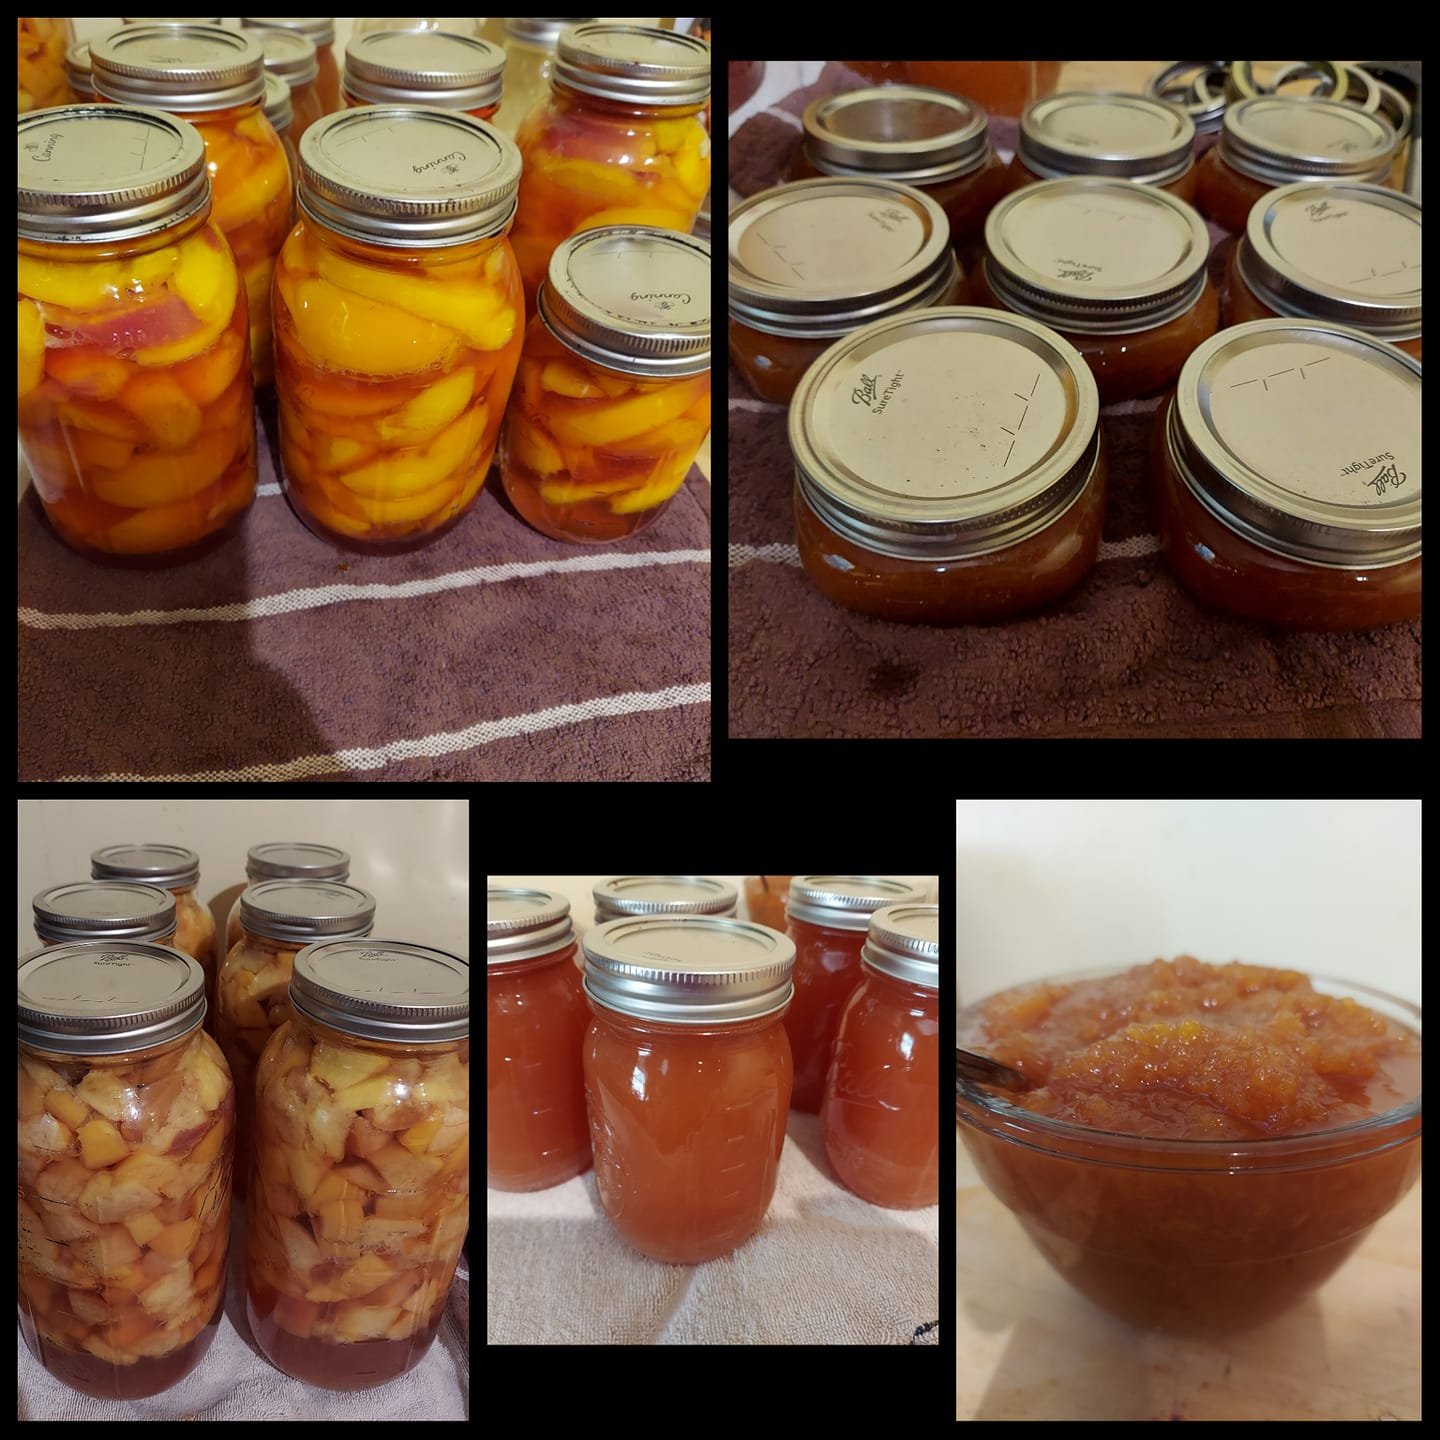
One of the first's things people will learn on the homestead is gardening. It's simple and starts getting you results in a short amount of time. After you grow that food you need to use it or store it. We have 11 family members on our homestead and grow a lot of food, Canning and Freezing are our best options. Freezing is simple, but requires some extra Ice on hand, we use this method for a lot of our veggies because we don't pressure can yet.
Water Bath Canning is the easiest way to store acidic based foods. You don't need much to get started but it can be very addictive. Its fairly low cost to enter into although jar's at certain times of the year can be expensive. You can start just about anytime of the year depending your growing season or you can buy food's in bulk at Costco or Sam's or even auctions, and in no time you'll have an abundance of food of your own.
We personally started doing our canning with easy recipes found in the Ball Home Preserving Book, This is a great resources to have on hand not only does it come with hundreds of recipes but it gives you a ton of general good info on all aspects of canning. Apple sauce was our first, then Strawberry and apricot jams. Jams and Sauces are in our opinion the simplest ones, They don't take more then a few hours total time and can be accomplish in a evening or short afternoon. Since we started canning Jams we haven't bought any store bought jellies in 5 years. That alone has paid for a few cases of jars and they taste so much better!
Supplies you will need:
Water Bath Canning Pot with Rack – Any large pot will do , but if you're doing or plan to be doing any serious canning, you might want to make sure its 21 qt pot and make sure you have a rack that will keep the jars off the bottom of the pot. No rack = broken jars from the heat. We provided 2 pots below a cheaper version that we started with that lasted us about 4.5 years, and a newer Stainless steel version that still looks brand new after 1.5 years of use.
Nicer Version – Currently 26% off as of 8-23-2023
Canning Jar's – Ball Jars are great, kind of like the cream of the the crop, can't go wrong with them. Cheaper jar's ie. From Dollar General will work, we used them in a pinch, they are about 4-7 dollars cheaper but we did have a few break. Use at your own risk. Our most common types we use are Qts and Pints, but we started off with more Half pints and pint jars in the beginning. Storing wise its more beneficial using qts and pint jars in our opinion. We mainly just use half pints for relishes, jams, salsa and such. Best times to find jars, Winter months and very early spring, worst time, June and July. Make sure you stock up on extra's before then you might not be able to find any or they will be more expensive. We'd also suggest staying away from the small half pint square jar's they stack horribly.
Prices currently on amazon are crazy expensive, currently at lowes they are cheaper but about $15 to $17 so you may need to look around for the best price.
That's basically all you need to get started. But here are a few more nice to haves:
Wide mouth funnel makes easier jar clean up before putting on the lid.
Jar holder to move jar from the hot water bath.
Head space gauge, ( we don't really use it we kinda just eyeball)
Magnetic Lid remover – To retrieve lids from warming water.
All these items come in a nice kit if you want them. We have it and use it regularly.
Now on to the fun stuff, Let's get Canning.
Step 1, Fill water bath pot and a small pot full of water, make sure to leave room for the jars, as you're filling the water bath pot, we fill our jars up and place them in side to get the correct water and to help sterilize them. Sterilizing your jars and lids is important to prevent any unwanted bacteria. Once you pot is full, place on the stove and put on med high heat till it starts to boil then reduce some heat but don't shut off.
Step 2, Make your recipe, before or while pot is warming up.
Step 3 Fill your jars, make sure you pay attention to your head space which is the amount of space between your product and the lid. Make sure to wipe clean all around where the lid will seal. Also make sure you have no air bubbles in the product.
Step 4. Place your warm lid on the jar and screw on your retaining ring, make sure its only finger tight. You do not want to make this super tight as it baths the air will need to escape.
Step 5, Put jar's in water and lower rack.
Step 6, Bring to boil then start cooking timer for stated time on recipe.
Step 7. Once done bathing, remove lid, raise rack, but leave in water to allow slower cool down time, 15 min or so. Then remove and place on a towel for further cooling. As they cool, you should hear the sounds of lids popping, meaning you got a good seal. Also you shouldn't be able to push the middle of the lid down once sealed.
Step 8 Clean up , label and that's how easy it is


